The Sponge Marble Mani
July 12, 2013
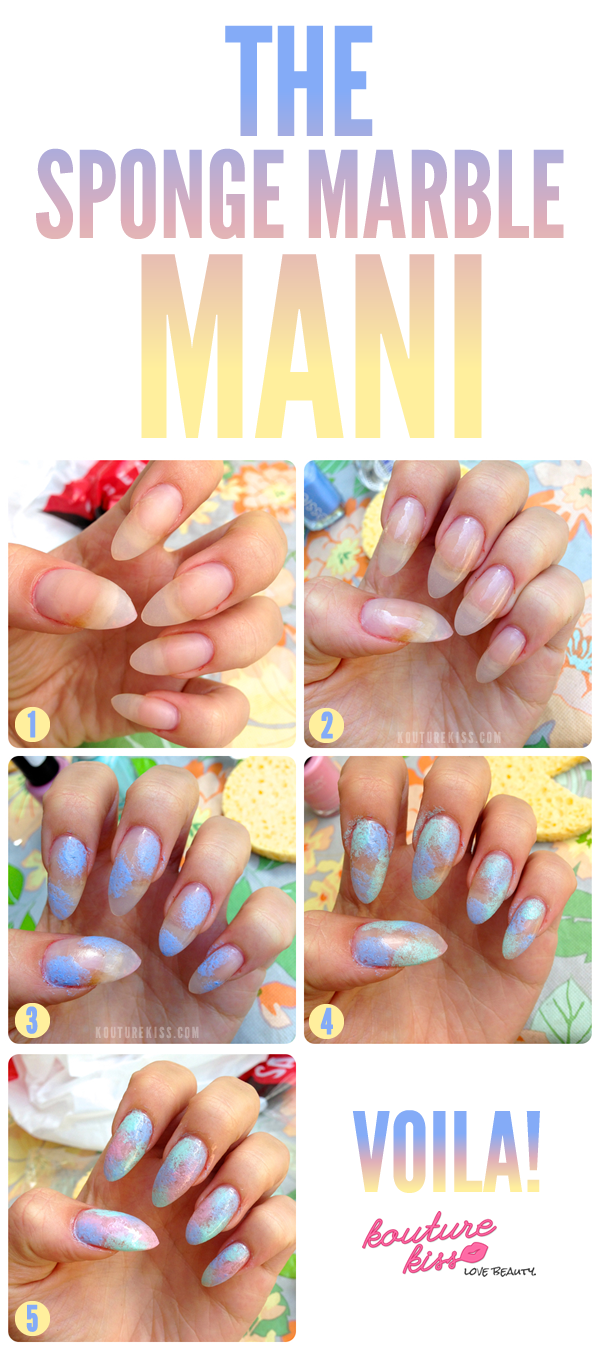
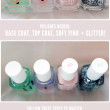
Today I am coming to you with a nail tutorial! I am usually awful at doing fancy designs on my nails, but they look so easy in the photos! This tutorial however is so simple that you could do it blind folded. This is inspired by water colors, so I kept with the pastel theme. The tools you will need are: any type of makeup sponge, a top and base coat, and however many pastel colored nail polishes you would like to use.
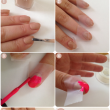
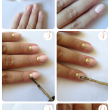
Step One: Start off with clean nails by using nail polish remover to remove any polish or build up.
Step Two: Prep your nails. Apply your base coat. I used OPI’s Base Coat.
Step Three: Take your first color and dab it onto the sponge, apply it liberally. I used Essie’s Bikini So Teeny.
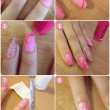
Step Four: Dab in stippling motions the sponge onto your nails. I chose random spots on my nail to dab it.
Step Five: Repeat steps 2 & 3 with the other colors you want to use. They should start to overlap and look like water colors. For my other two colors I used Essie’s Mint Candy Apple and Revlon Colorstay’s Cafe Pink. Apply your top coat and – voila - your marble sponge mani is complete!


