How To Contour & Highlight With Creams And Powders
March 13, 2013
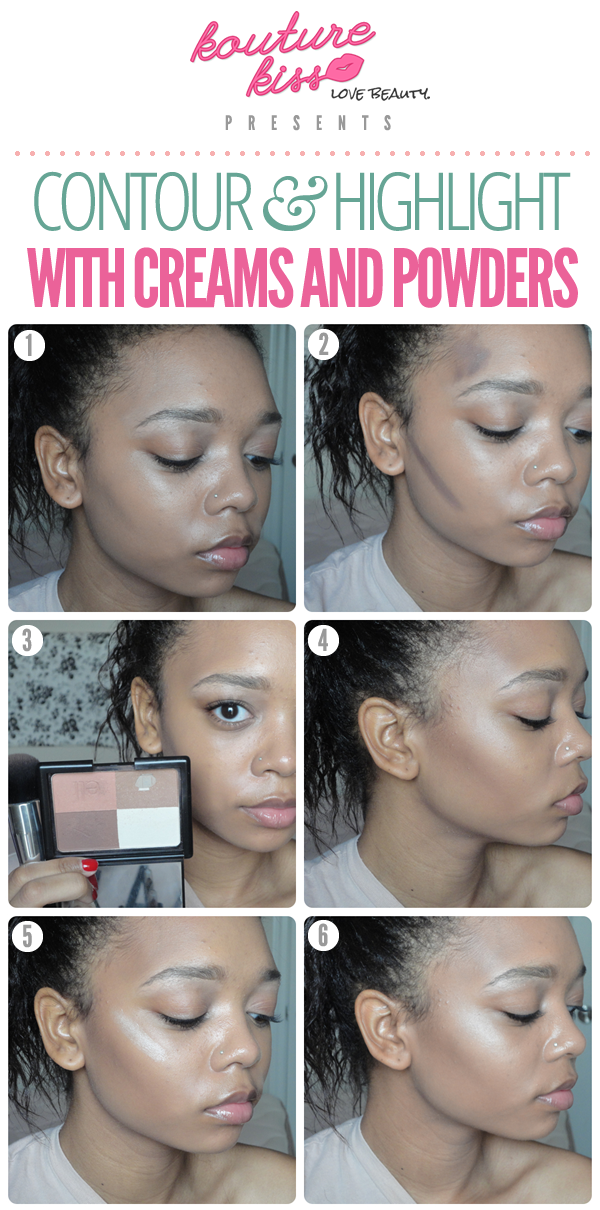
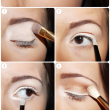
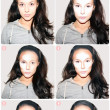
With contouring, you can sculpt your face into whatever shape you like. To add shadows or depth, we’re going to use darker powders or creams. Usually, the key places to contour are the hollows of the cheeks (You can find these by sucking your cheeks in like a fishy face), the temples, and the jawline. However, you can pretty much contour wherever you’d like! (Even your nose or eyes – it will help add dimension to your face if it’s looking a bit flat.) When contouring it’s best to use matte products (without shimmer), because this will be more natural looking.
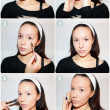
1. Start with a clean face (no blush or bronzer, foundation is OK).
2. Add a dark shade of concealer to the areas you would like to contour and blend out with a buffing brush for a natural look.
3. Next, Take took a matte brown contour color and blended that in
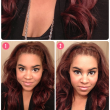
4. Look at those cheekbones!
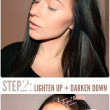
Contouring pushes back or hide certain areas of the face. Highlighting brings them forward. Again you can use a cream, powder, or liquid product for this. This will go on highest points of your face or the places you want to draw attention to – so don’t apply it anywhere you wouldn’t want noticed. The main points of highlighting are the tops of the cheek bones, the bridge of the nose, and sometimes above your cupids bow (just above your upper lip). Note: a highlighter with a natural glowing finish will be a lot less noticeable than one with full-fledged glitter.
5. Applied a cream highlighter to the top of the cheekbones
6. Blended out with a buffing brush and you’ve got a nice natural glow!
Remember to blend everything so it looks seamless and natural. Have fun!
-
SU
-
Queenie
